Edit the TES.Groups Table
The TES.Groups table identifies the group name(s) and the element(s) that belong to the group. Each row in the table contains a single element.
To edit the TES.Groups table:
In the TES tree, click the TES Tables expand icon, to expand the list of tables.
Click on the TES.Groups table to open it.
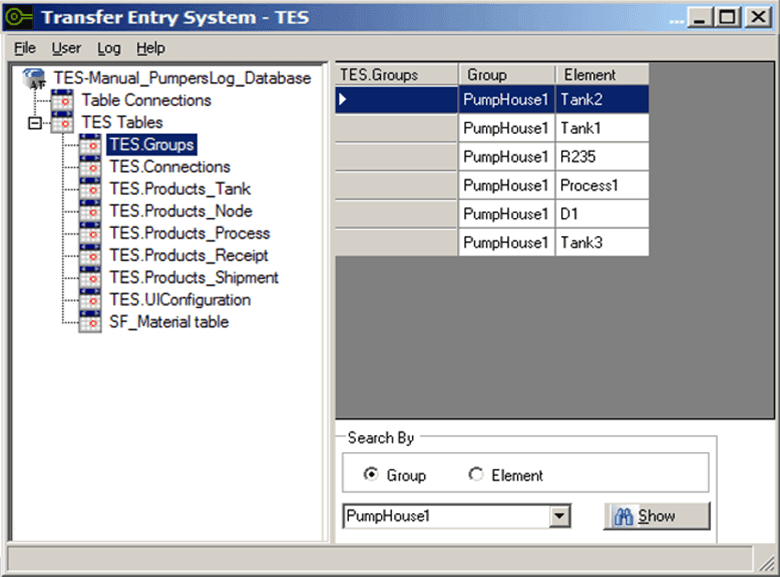
This table displays two columns; group and element.
To add a new group and the elements that belong to it:
In the Search By section, select the Group option.

In the Search By box, type the name for the new group.
Click the Show button.
A Selected Items window opens.

Click on the Element down-arrow and select an element to include in the group.
Repeat step "d" for each element you want to include.
Ensure that you do not select an element more than once, as multiple instances of the same element in the same group are not permitted. Note though that a single element can belong to multiple more than one group.
When finished selecting elements, click OK to save the new group and its elements to the TES.Group table, as shown in the following figure.

To view the groups to which an element belongs:
In the Search By section, select the Element option.

Click on the Search By box down-arrow, and select the element.
Click the Show button.
The Selected Items window opens, displaying all the groups to which the element belongs.

To add the element to another group, enter the group name in the empty row.
Repeat step "d" for each group in which you want the element to belong.
Click the OK button if you have added groups, to save your changes. Otherwise, click the Cancel button to close the window.