Create the TES Administrators Group
The TES Administrators Group is used to identify those users who require administrative privileges in TES. Once the group is created, you can then assign users to it.
To create the TES Administrators group:
Open the PI System Management Tools console.
Connect to the PI System that hosts the AF Databases.
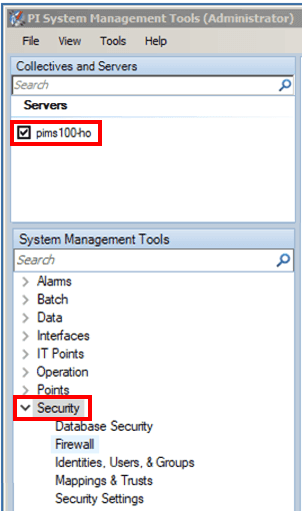
Under the System Management Tools section, Click on Security to expand the list.
Click on Identities, Users, & Groups, to open that list on the right (as shown in the following figure).
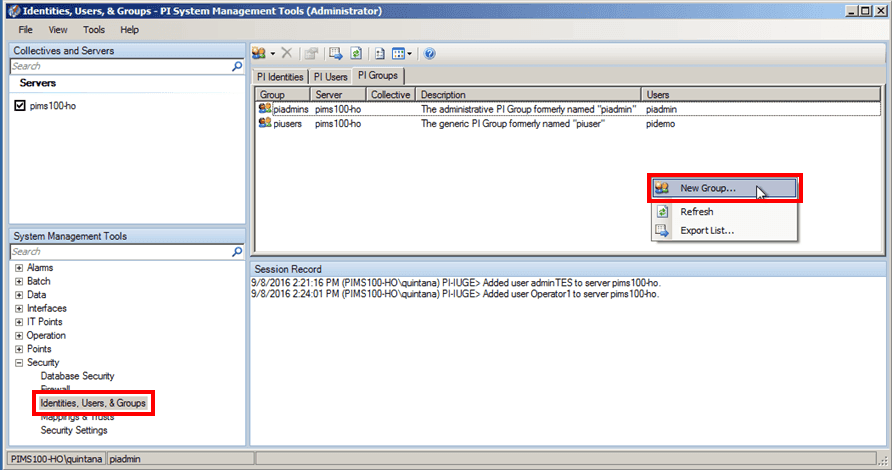
Click on the PI Groups tab to display the PI Groups panel.
Right-click inside the PI Groups panel and select New Group.
The New Group window opens.

In the Group box, type the name TES Administrators.
IMPORTANT: The TES Administrators group must be named "TES Administrators," as TES does not recognize any other group name for administrators.
The Server box is automatically populated with the name of the server to which you are currently connected. You can leave this selection as is, or select a different server if necessary.
(Optional) In the Description box, you can repeat the group name or provide any description you like that indicates this is the TES admin group.
Click the Create button.
The group appears in the list of groups.
You are ready to assign administrator users to the group. See Assign Users to Groups for more details.