Adding an Existing Element to a Model
There are several methods you can use to add elements to a model. However, to maintain procedural simplicity, only one method is described here.
To add an Element to a model:
Open AF Browser.
Click the Elements tab.
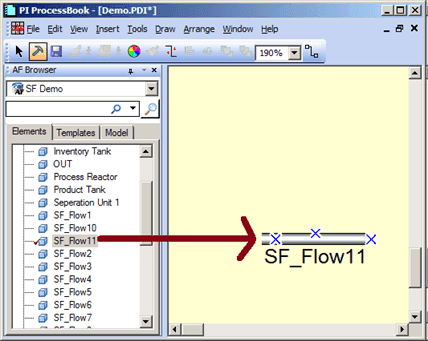
Select the appropriate Element in the list.
Drag the Element into the display.
When you drag an existing Element into the display, the Sigmafine Modeler adds the Element to the model, unless it is already contained within the model. If already present, the Sigmafine Modeler prompts you to confirm the creation of a copy.
Under the Element tab, right-click on the Element and select Check In (as shown in the following figure)
Note: A
 check mark by the new Element indicates that the Element is not checked into the AF database yet.
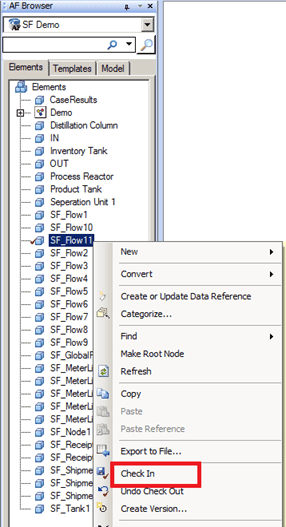
.
This action finishes adding the new Element to the database, and checks in only this element; no other changes pending for the database are checked in.
Note: You can add elements to any ProcessBook display, not just displays assigned to a model. When you add an existing Element to a non-model-assigned display, no underlying AF Database changes occur. In this way, you can create displays which contain elements from multiple models.