Edit a Transfer
When the edit transfer icon is selected, then Modify Transfer panel opens, which is the same panel as Create Transfer, but with the transfer's current information pre-populated in the fields.
Please see Create / Edit Transfer Panel for further instructions.
The Transfer Edit can be activated by any one of three panels:
Edit a Transfer from the Transfer List Panel
To edit a transfer from the Transfer (List) panel:
Click the
 Transfer List icon.
The Transfers Panel opens.
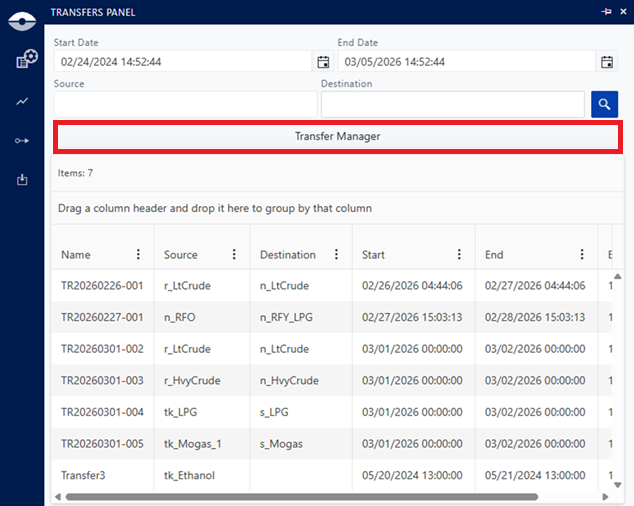
Click Transfer Manager button.
The Sigmafine Transfer list opens.
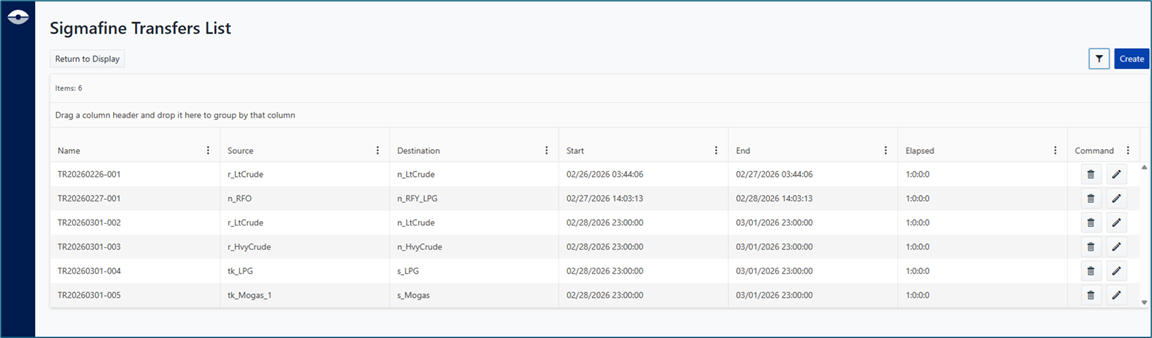
Click the Edit button
 of the transfer you want modify.
The Modify Sigmafine Transfer panel opens.
Edit a transfer from the Tool-tip Panel
While working on a Sigmafine Case, when the tool-tip is activated from transfer ('Node' or 'Boundary') element, the Edit Icon in the tool-tip is enabled.
To create a transfer from the tool-tip panel:
Hover your mouse over a 'Node' or 'Boundary' element on the display, to open the tool-tip panel.
Tool-tip panel - Create / Edit Transfer
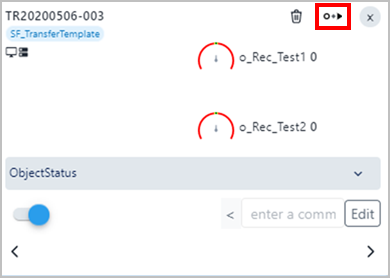
Click the Modify Transfer icon, as shown in the figure above.
This is the same icon as Create Transfer, but when you hover your mouse over a transfer, it allows you to modify that transfer.
The Modify Sigmafine Transfer panel opens.
Edit a Transfer from the Detail Panel
When the element displayed in the Detail panel is a transfer, the modify transfer icon is enabled.
To edit a transfer from the Element Detail Panel:
Click the Modify Transfer icon, as shown in the following figure.
Edit Transfer from the Element Detail Panel
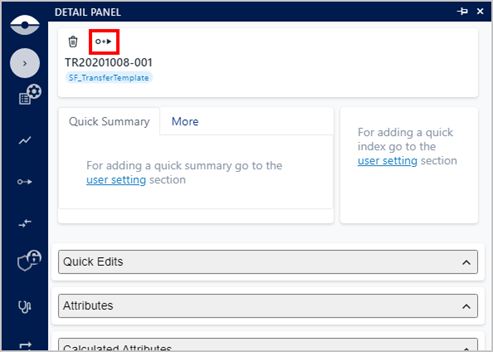
The Modify Sigmafine Transfer panel opens.