Set Tank Attributes
TES includes a Set Tank Attributes feature that allows you to edit fields in the Set Tank Attributes window, to insert tank data to the PI server.
To edit fields in the Set Tank Attributes window:
Run the TES application.
From the menu select Task > Operator Task > Set Tank Attributes.
The Tank Attributes Setting Form displays.
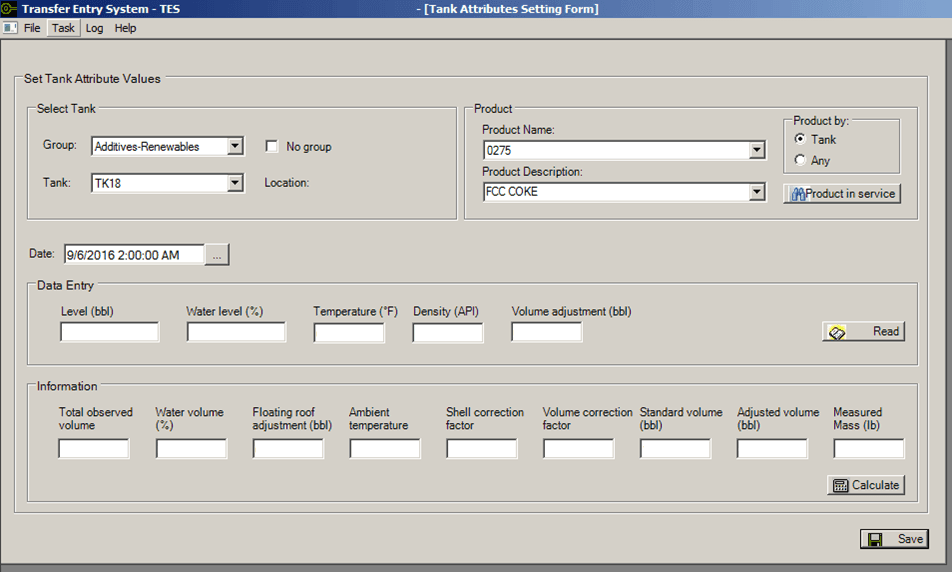
To filter by a group, click the Group down-arrow and select the group to use.
If you do not want to filter by a group, check the No group checkbox.
Click on the Tank down-arrow and select the tank for which you want to set Tank Attributes.
In the Product section under Product Name or Product Description, click the down-arrow to select the product for the transfer.
In the Product by area, click on Tank or Any, depending on your company's product movement rules.
Some companies do product movements according to the products allowed by the source; others use the product from the destinations. At other times they do not follow any particular rule and they want to select any product available. For these reasons, you have the option to select how the product movements are allowed.
(Optional) Click the Product in service button to select which items are considered for an element.
In the Date box, type the date, or click the ellipsis button to select if from a Calendar.
The format of the date and time depends on the language and regional settings of the computer you are working on.
In the Data Entry section, click the Read button to retrieve data from the data and time you specified in step 8.
If necessary, you can change a value or enter a value for an empty box.
If you made changes to any data, click the Calculate button to re-evaluate the values.
You are ready to send the data to the PI server.
Click the Save button to send the data to the PI server.
You can view the TES Log to check for any possible errors. See View the TES Log for more details.
Note: If the PI tag is configured as “Read Only”, an error message appears in TES Log Viewer and the value is not updated.