Configure OLEDB Data Set
To configure the OLEDB Data Set:
Run the Integration Framework - Configurator application.
The Integration Framework - Configurator window opens.
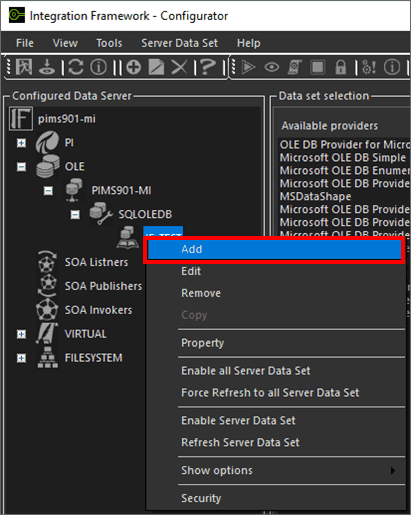
In the Configured Data Server pane, click on the OLE Data Server source.
In the toolbar, click the
 Add icon.
Alternatively, you can right-click on OLE and select the Add option as shown in the following figure.
The Configure OLE Source window opens.
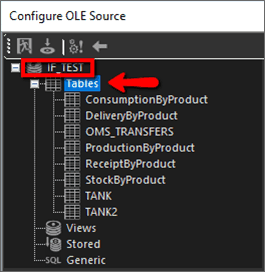
From here, you need to enable the database entity to be queried.
Click on Tables to expand the list.
This list show all the tables of the selected database.
In the Tables list, select the table you want to use as a source, as shown in Figure 1407.
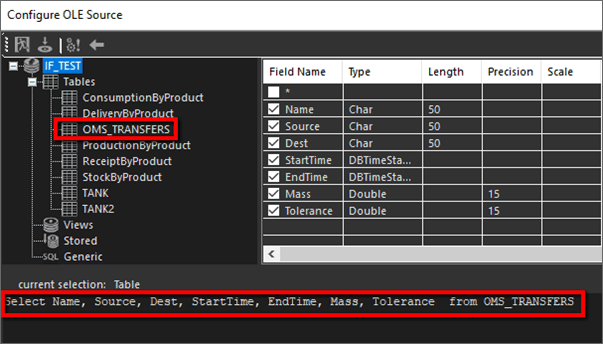
After the table is selected, the SQL query is automatically generated, as shown in Figure 1407.
In the toolbar, click on the
 Test icon to test the query.
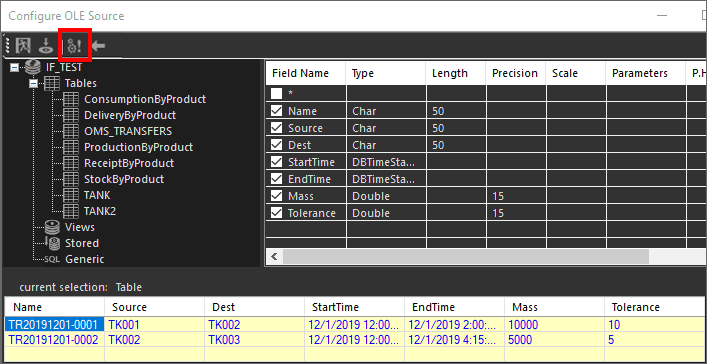
The results of the query display in the current selection: Table pane, as shown in the following figure.
Click the
 Exit icon to exit from the query test.
The Name - Cache settings display.

In the DataSetName box, type a name for the data set source.
In the toolbar, click the
 Save and Exit icon.
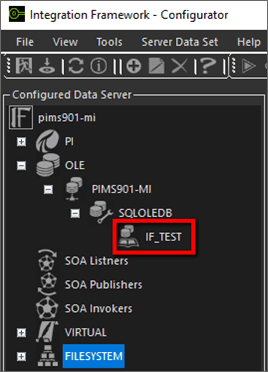
You are returned to the Integration Framework - Configurator window where the Data Set source you selected and named now displays under the selected OLE Database Data Set, in the Configured Data Server pane, as shown in the following figure.
