Add a Header to the Report
Once the Report table has the desired aspect, it would be good to add some general information into the report header, such as your company logo and the report title.
Open the Report.
a. Go to or reopen SFHub Studio.
b. Select the Project that contains your report.
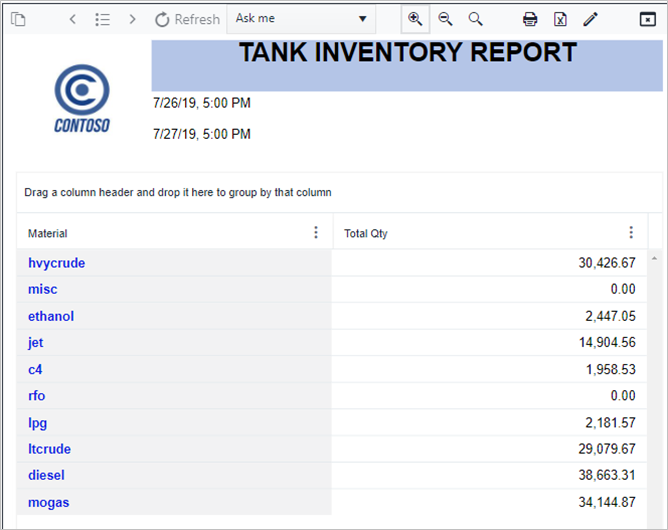
c. Click the Report block in the Studio Project [project name] dashboard, to open the report in the design area. We opened the new report we created; Material Inventory Report.
Add the Company Logo (Icon).
a. Double-click in the Design Area to open the Visual Object toolbox.
Visual Object Toolbox - Select Icon (Image)

b. Click the Icon (image) icon. The Icon visual container displays on the design area.
Icon Visualiser Container

c. Click the Edit icon of the visual object container, to open its configuration panel.
Icon Configuration Panel - Choose The Image Type
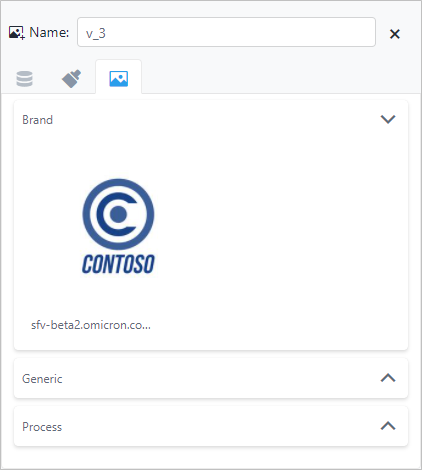
d. Click the box that coincides with the type of icon (image) you want to use.\ Available options are:
Brand - A Company logo or name.
Generic - Any decorative image that may or may not be related to the data being presented in the report.
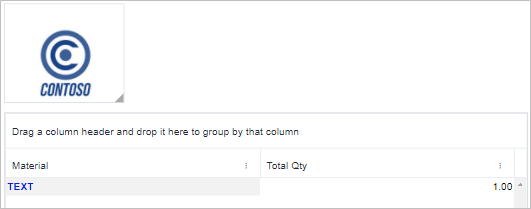
Process - Any image that depicts a process related to the data being presented in the report. In our example, we chose the 'Brand' type and selected the Contoso logo.e. Resize the visual container to fit the image.
Resize Visual Container To Image Size

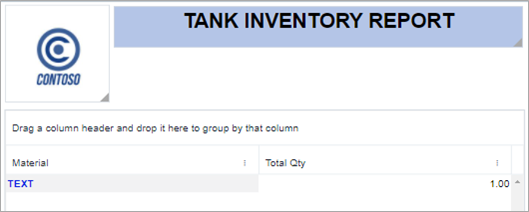
f. Drag the image visual to the top of the report.
Visual Object Toolbox - Select Icon (Image)
Add the Report title (Static Text).
a. Double-click in the Design Area, to open the Visual Object toolbox.
Visual Object Toolbox - Select Icon (Image)

b. Click the Static Text icon. The Static Text visual container displays on the design area.
Static Text Visualiser Container

c. Click on the Static Text visual object container and type the report title.
d. Click on the container again, to open the Static Text formatting toolbar.
Traces Formatting Toolbar

e. Choose the formatting options to use for the report header.\ Available options are; Font Size, Font Family, Font Color, Background Color, Font Style (Bold, Italic, Underline, Line Through and Reset), Alignment (Left, Center, Right) and Overlap Format.
Static Text Format Options
 We chose to increase the font, bold it, add a blue background
and center-align the text.
We chose to increase the font, bold it, add a blue background
and center-align the text.f. Drag the title to the top of the report.
Report Title Placed At Top Of Report
Add the Case information (Dynamic Header Text).
a. Double-click in the Design Area, to open the Visual Object toolbox.
Visual Object Toolbox - Select Dynamic Text

b. Click the Dynamic Text icon. The Dynamic Text visual container displays on the design area..
Dynamic Text Visual Container

c. Click the Edit icon of the container, to open its configuration panel.
Dynamic Text Configuration Panel

d. Choose the Placeholder from which users can select a filter or item. We chose the
{CaseStart}placeholder for our report.e. Repeat steps a - c to create a second Dynamic Text for the second filter or item from which users can select. We choose the
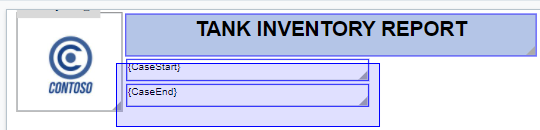
{CaseEndt}placeholder for our report.f. Drag each of the Dynamic Text visual objects to the top of the report.
Dynamic Text Placed at Top Of Report
g. Select both Dynamic Text containers to enable the Alignments option in the Design Area toolbar at the top-left of the Design Area.
Design Area Toolbar

h. Click Alignments > Alignment, then choose an alignment option from the list.
Alignment Of The Dynamic Text Containers
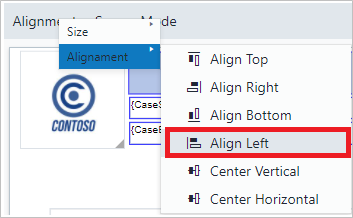
i. Choose an alignment option from the sub-menu. We chose 'Align Left' to align both Dynamic Text containers by their left sides.
Alignment Results