Importing Values into Sigmafine Analysis Cases
The 'Sigmafine Data Import' tool is used to load (import) the GenealogyTrackingResults and QualityTrackingResults data from the Excel spreadsheets into the Sigmafine database.
Loading Genealogy Tracking Data
To load (import) the Genealogy Tracking data:
Open
 .
.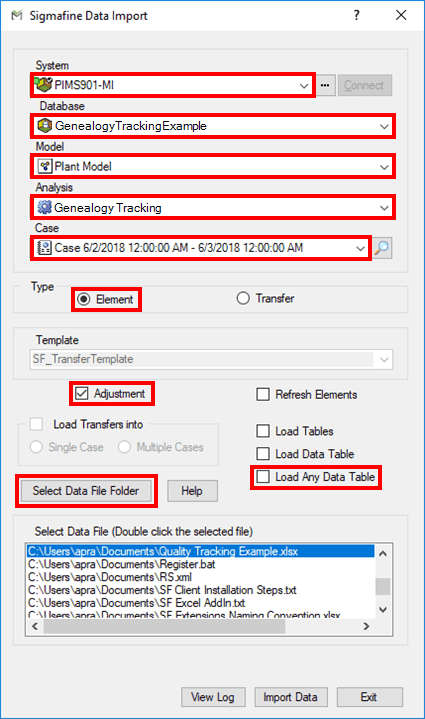
Click on the System down-arrow and select the system where the database resides.
Click on the Database down-arrow and select the database in which the Model resides.
Click on the Model down-arrow and select the Model that contains the analysis to which you want to import the data.
Click on the Analysis down-arrow and select the analysis that contains the Case to which you want to import the data.
Click on the Case down-arrow and select the Case in which the data needs to be imported.
For Type select the Element option.
Under Template, check the Adjustments checkbox, to import values as "adjustments", or uncheck it to import values as “Inputs”.
Check the Load Any Data Table checkbox (or Load Genealogy Tablecheckbox, if available).
Click on Select Data File Folder.
A Browse For Folder window opens.
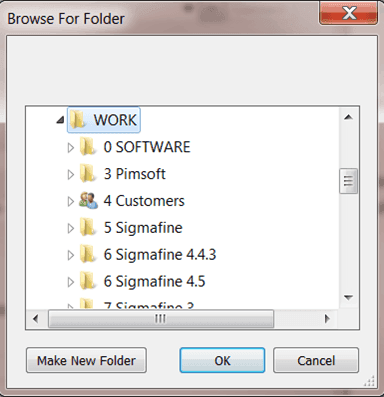
Locate and double-click on the Excel file to open it and close the Browse For Folder window.
Note: Only one Excel file is allowed to be opened at a time. Double clicking on another excel file displays an error message stating that you need to close the currently opened workbook spreadsheet file.
The following figure provides an example of the Genealogy Tracking data file. The first column is for selection of elements to be considered, the second column is for the name of element, and the third column onwards contain the name and details of the Attributes to be imported.
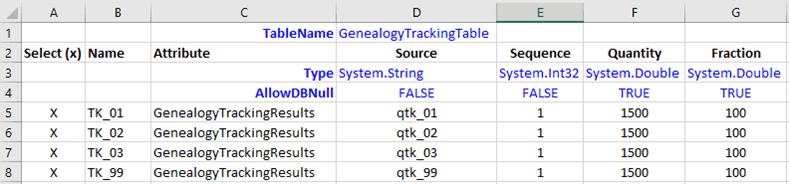
If a column heading does not match the Attribute name, an error is generated. If the user wishes to add text/notes to the data file, it can be added to a column for which the heading is blank or to a row in which the first column does not have an “x”.
If there are no visible errors, you are ready to import the data.
In the Sigmafine Data Import window, click on the Import Data button to start the import.
After completion, the following message appears.
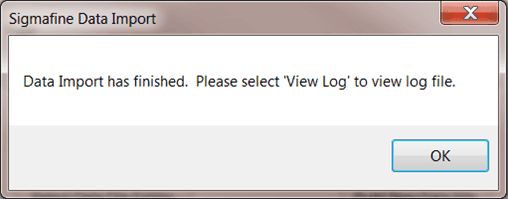
Click OK to close the message window.
In the Sigmafine Data Import window, click on the View Log button to see the log file in Notepad.
“Updating” indicates the values have been imported (shown in the following figure).
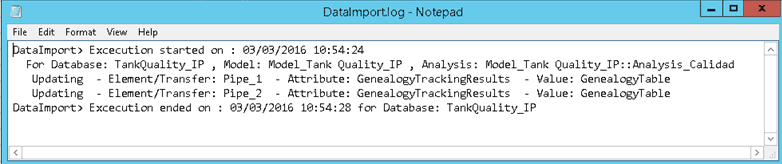
Close Notepad when you are finished viewing the log file.
Loading Quality Tracking Data
To load (import) the Quality Tracking data:
Open
.
Click on the System down-arrow and select the system where the database resides.
Click on the Database down-arrow and select the database in which the Model resides.
Click on the Model down-arrow and select the Model that contains the analysis to which you want to import the data.
Click on the Analysis down-arrow and select the analysis that contains the Case to which you want to import the data.
Click on the Case down-arrow and select the Case in which the data needs to be imported.
For Type select the Element option.
Under Template, check the Adjustments checkbox, to import values as "adjustments", or uncheck it to import values as “Inputs”.
Check the Load Any Data Table checkbox.
Click on Select Data File Folder.
A Browse For Folder window opens.
Locate and double-click on the Excel file to open it and close the Browse For Folder window.
Note: Only one Excel file is allowed to be opened at a time. Double clicking on another excel file displays an error message stating that you need to close the currently opened workbook spreadsheet file.
The following figure provides an example of the Quality Tracking data file. The first column is for selection of elements to be considered, the second column is for the name of element, and the third column onwards contain the name and details of the Attributes to be imported.

If a column heading does not match the Attribute name, an error is generated. If the user wishes to add text/notes to the data file, it can be added to a column for which the heading is blank or to a row in which the first column does not have an “x”.
If there are no visible errors, you are ready to import the data.
In the Sigmafine Data Import window, click on the Import Data button to start the import.
After completion, the following message appears.
Click OK to close the message window.
In the Sigmafine Data Import window, click on the View Log button to see the log file in Notepad.
“Updating” indicates the values have been imported (shown in the following figure).
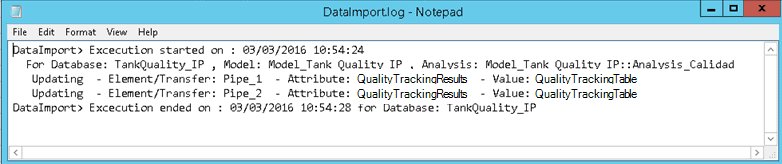
Close Notepad when you are finished viewing the log file.