Creating Transfers
You can add a transfer to a display during either the Run or Build modes.
To add a transfer to a display:
In the Model display, right-click on an empty area and select Create AF Transfer.
The Select Transfer Template for Create Transfer window opens.
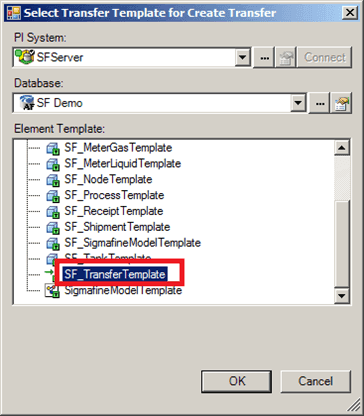
In the Element Template list, find and select the transfer template you want to use as a basis for your transfer.
Click OK to save your selection and close the Select Transfer Template for Create Transfer window.
The Transfer Properties window opens.
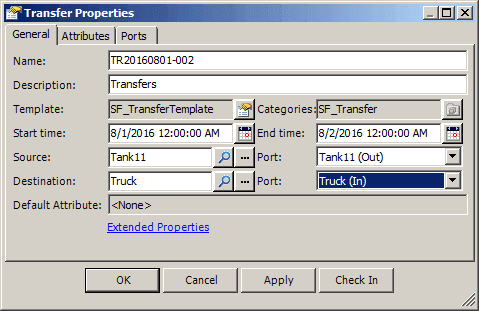
Click on the Start time
 calendar button and select the start time for the transfer.
Click on the End time
calendar button and select the end time for the transfer.In the Source box, type the name of the source Element for the transfer.
If you do not know the exact name, use the Search or ... (ellipsis) button to find the source element.
Click on the source Port box down-arrow and select the type of port ( most likely 'Out' for output).
In the Destination box, type the name of the destination Element for the transfers.
If you do not know the exact name, use the Search or ... (ellipsis) button to find the source element.
Click on the destination Port box down-arrow and select the type of port (most likely 'In' for input).
Click on the Attributes tab.
Enter any Attribute values as needed (e.g., Measured Mass Attribute for performing Mass balance).
Click OK to save your entries and close the Transfer Properties window.
The new transfer appears on the display, as shown in the following figure.
