Creating an Ad Hoc Case
Create an Ad Hoc Case when you want to test hypotheses, such as: What results do I get if only selected layers or elements are included in the case? An ad hoc Case is temporary and cannot be saved or checked into the database. You do the temporary analysis, examine the results, and then discard the ad hoc case.
To create an ad hoc case:
Open a model.
Set the mode to Run.
Select one or more elements in the model.
To select multiple elements, hold the CTRL key on your keyboard while clicking on each Element on the display that you want to select.
Right-click on the Model and select Ad Hoc Case, as shown in the following figure
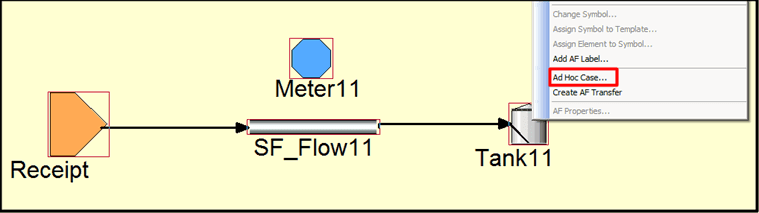
The Create Ad Hoc Case window opens.

Click on the Start Time down-arrow and select a start time to use for the ad hoc case.
Click on the End Time down-arrow and select an end time to use for the ad hoc case.
(Optional) Check the Include Connected Elements checkbox if you want to include connected elements (transfers and flows).
Click OK.
The AdHoc Case window opens.
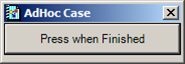
IMPORTANT: Do not click the button in the AdHoc Case window, at this point in time.
Click the buttons in Case Runner to run the analysis.
View and adjust the results in the AF Output window, and rerun the analysis if needed.
When finished, you can click on the Press when Finished button in the AdHoc Case window.
Other Methods for Discarding the Ad Hoc Case
The following are other methods that can be used to discard an ad hoc case:
- Select another case.
- Create another ad hoc case.
- Change to Build mode.
- In the Analysis Toolbar Case box, select None.