IMM Client Install
Release version 4.7.0
In order to run the Sigmafine IMM solution, each user requires that the Client Add-In be installed on their computer. The following are the steps involved in installing the Client Add-In.
To install the IMM Client Add-In:
- Log into the client computer with an administrative account.
- Close all currently running applications.
- Copy the "license" file to the following directories:
C:\Windows\System32\C:\Windows\SysWOW64\
Open Windows Explorer and browse to the location of the Sigmafine IMM 4.7.0.exe executable file.
Right-click on the executable file and select Run as administrator.
The IMM Installation Welcome window opens.

Click Next to open the License Agreement window.
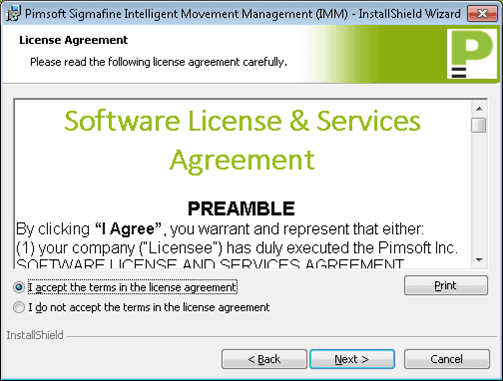
Select the I accept the terms in the license agreement option.
Click Next to open the Customer Information window.
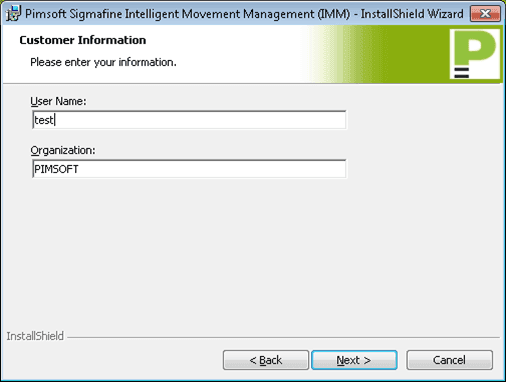
In the User Name box, type your user name (or a name for the person using this computer).
In the Organization box, type your company's name.
Click Next to open the Destination Folder window.

(Optional) Click the Change button only if you want to change the installation location from the default location shown in the window.
Click Next to open the IMM values window.

In the Web Server Name box, type you web server name and port number in the following format:
ServerName:PortNumberWhere:
- ServerName = The name of the server where the IMM Web Service is installed.
- PortNumber = The number of the port where the Web Service answers.
In the Recalc Log Path box, type the path to where the Reclac procedure writes its output logs.
Click Next to open the Ready to Install the Program window.

Click the Install button to start the client installation.
When the installation finishes, a completed window opens.

Click the Finish button to close the window.
After the installation completes, the Sigmafine Load Library Utility window opens. This is an optional feature that provides two useful tools: The first tool allows you to load the product's XML library to the AF system.
The second tool allows you to select the databases within the select AF System to which you want to pre-load product categories, templates or tables. For additional information and instructions regarding the Sigmafine Load Library Utility, see Sigmafine Load Library Utility.
The final step in the client installation process is to verify that the add-ins were successfully loaded. This is done through ProcessBook's Add-In Manager.
Run the ProcessBook application and open the Add-In Manager.
The Add-In Manager window opens.
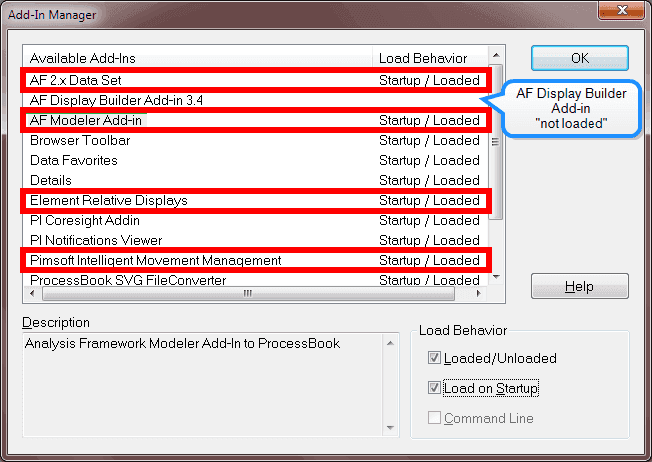
Under the 'Load Behavior' column, verify that the following add-ins have been loaded:
- AF 2.x Data Set
- AF Modeler Add-in
- Element Relative Displays
- Pimsoft Intelligent Movement Management
- Verify that the AF Display Builder Add-in is not loaded (showing blank under the 'Load Behavior' column).
- Click OK to close the Add-In Manager window.