Step 2: Select a Case
Before running and debugging a SFHub Studio analytic, you must select a Sigmafine Case that will act as the starting data context of the analytic execution. Selecting a Case is done using the Select Case panel. The Select Case panel allows you to use of various filters; Date (date range), Analysis type and/or Name to quickly find the Case you want.
Selecting a Case is the second step in running and debugging an analytic.
To select the Case/Analysis:
Open the analytic that you want to run and debug.
Click
 Select Case to open the
Select Case panel.
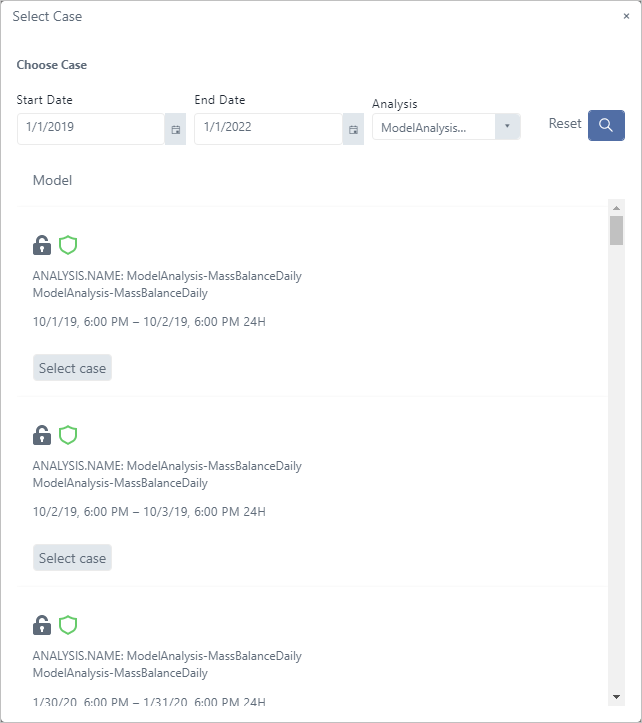
Select Case to open the
Select Case panel.: Select Case Panel

Use one or more of the following search filters to locate the Case.
Date Range
a. Click the Start Date box, and choose a starting date from the calendar panel the opens.
: Start Date - Calendar panel

:::tip
Alternatively, you can just type the date in
**mm**/**dd**/**yyyy** format.
:::
b. Click the **End Date** box, and choose an ending date from the
calendar panel the opens, as you did for the Start Date. This
date can also just be typed in.
Analysis Type
1. Click the **Analysis** down-arrow.
2. Choose the analysis type from the list that displays.
: List of Analyses

Case Name
a. Click on **Filter by Name**.
b. Type in part or the whole Case name.
:Type part or all of Case name

Click
 Search to expand a list of
those Cases matching your filter(s).
Search to expand a list of
those Cases matching your filter(s).: Choose Case from filtered list
Scroll (if necessary) to locate the Case.
Click its
 Select Case button.
A message block briefly displays the Case selected.
: Successful Case selection message

See SFCode Block Debug Panel for a brief overview of the Debug panel.
See SFCode Block Debug Status for additional information Debug information.