Defining Ports
The following steps describe how to create and define a port. Here, we are defining port settings for a node-type Element for which the 'Create Default Ports' options was not selected.
For an overview on ports, see Port Overview.
In the AF Property window, click on the Ports tab, if not already open.
The Port options display.
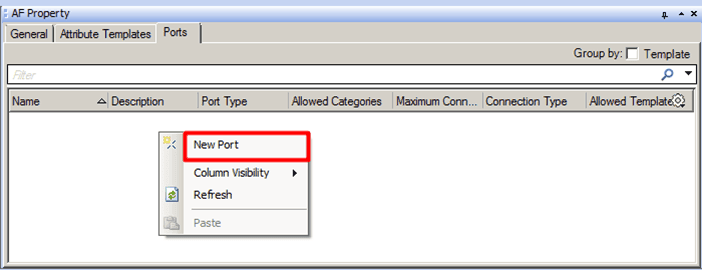
Right-click in the window and select New Port, as shown in Figure 819.
The new port with a default name appears in the tab. The following figure shows the ports that you can create by default.
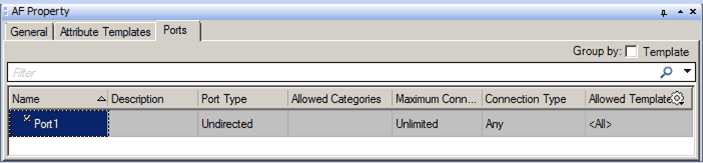
Under the Name column, type a name for the new port.
(Optional) Under the Description column, type a short description of the new port.
Under the Port Type column, select the port type; Input, Output or Undirected (for meters, for example).
Under the Allowed Categories column, specify the categories allowed for the port.
Under the Maximum Connections column, specify the maximum number of connections that can be made to the port.
Enter zero for an unlimited number of connections.
Under the Connection Type column, select the Element types to which the port can be connected; Boundary, Flow, Measurement, Node, Other or Transfer.
Select whether this is the Default Port for the port type.
You can have one default port for each port type. That is, if five inputs and two outputs are defined, one input port can be a default, and one output port can be a default.
(Optional) Under the Allow Templates column, you can choose elements of specific Element templates to which the port can be connected.
Repeat the steps for each additional port you need to define.
You are now ready to create instances of elements based on the template.