View Upload Results
SigmafineHub Admin users can use the Upload Results panel on the Visualizer Settings page, to view the status of all the display uploads or display imports to the Sigmafine Server.
To view the results of an uploaded or imported display file:
Log into SigmafineHub as an SFHub Administrator.
The SigmafineHub® main page opens showing all SFHub applications assigned to you.
Click on the SigmafineHub® Admin block to open the SFHub Admin application.
The User settings page automatically opens; go directly to step 4.
If you are already in the SFHub Admin application, but have a different panel open, continue with step 3 to open the Visualizer Settings panel.
You may be asked to login again. If this happens, just use the same 'Administrator' login credentials as you used in step 1.
Click on the
 Visualizer Settings icon.
The SFHubVisualizer Settings panel opens.
SFHub Visualizer Settings panel
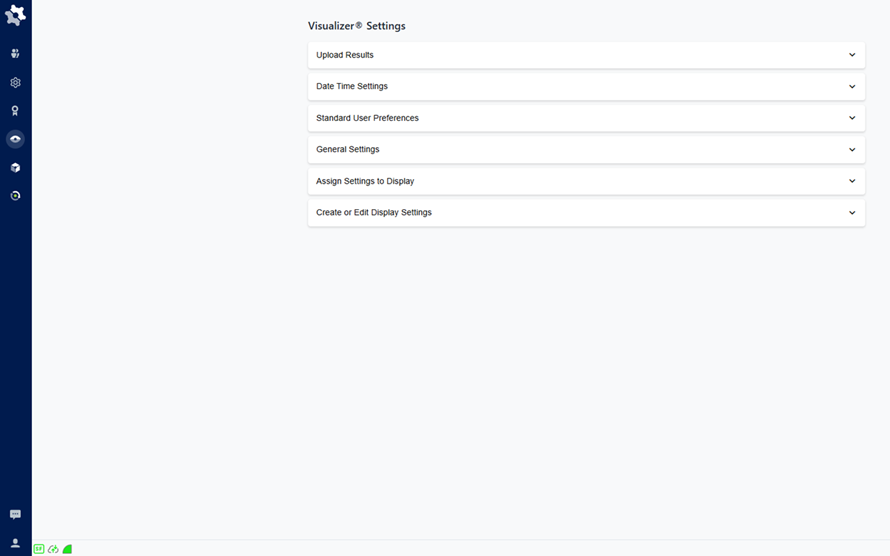
Click on Upload Results to open the panel.
Upload Results panel
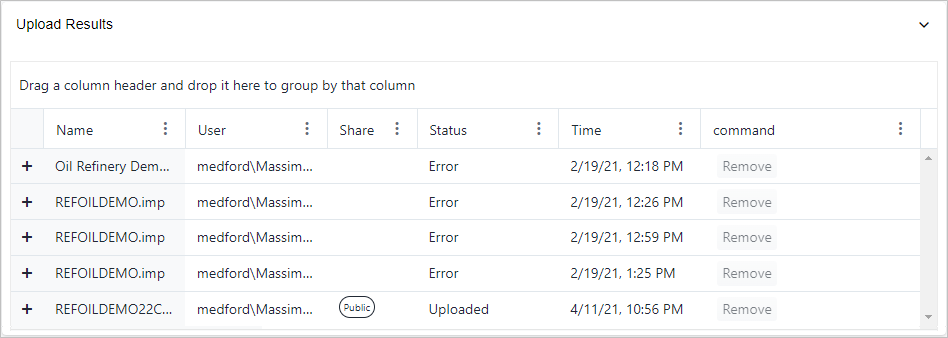
The Upload Results panel shows all the Display files that have been uploaded or imported, and whether or not the upload was successful.
The following table provides descriptions of each column.
Display Results column descriptions
Column Header Description Name The name of the Display import file. User The username of the person who performed the upload of the import file. This person is automatically the owner of the display. Share Indicates whether or not the uploaded file has been publicly shared by its owner. Status Indicates whether or not the file uploaded successfully.
Uploaded: The file was uploaded with no error.
Error: The file could not be uploaded.Time Indicates the time at which the file upload was initiated. Command Provides a 'Remove' button for deleting an upload file that is no longer needed. See Remove an Uploaded Display for details and steps. To check the results of a file you just uploaded, scroll through the list to find the upload.
Or, you can click on the 'Time' column header to sort it in descending order, thereby showing the most recent uploads are at the top of the list (as shown in the follow figure).
pload Results sorted on the Time column in descending order
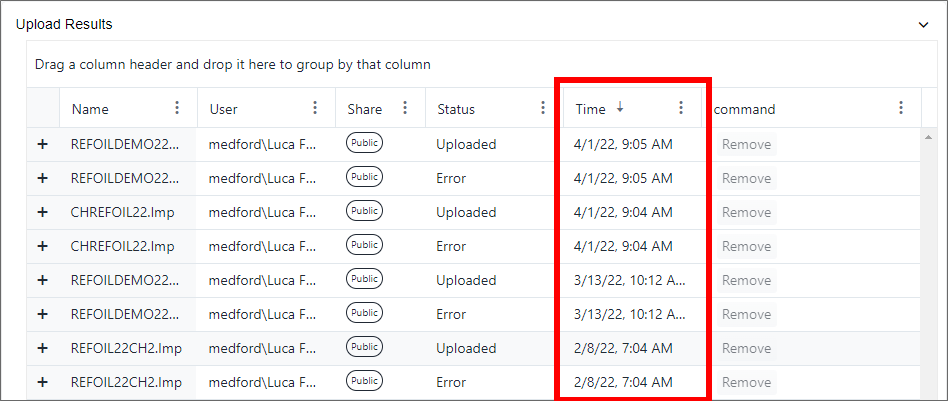
Notice how the most recent uploaded file appears at the top of the list after the 'Time' column is sorted in descending order.
(Optional) Click the + expand icon next to a file name, to find out why a file could not be uploaded (its status shows "Error").
The panel expands showing the details of the error status.
Error status details
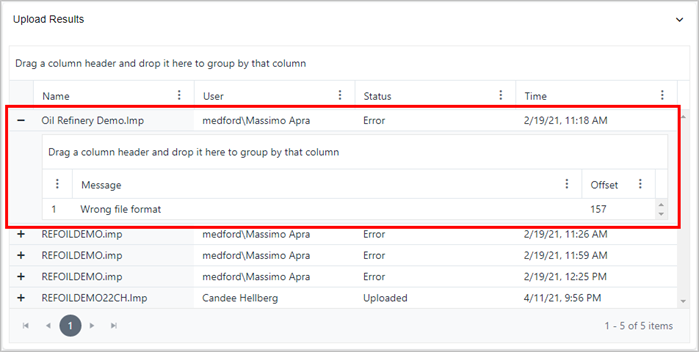
The expanded panel shows a 'Message' stating why the import file could not be uploaded, and an 'Offset', indicating either where the error was found or what it is.
When finished viewing upload results, click on Upload Results, or click its down-arrow icon to close (collapse) the panel.