Create a Studio Project from a Package
If the Studio Package Admin or Studio Package Create access is granted to you, the Create Studio Project icon is shown on the item line. The icon indicates that you are able to create a new Studio Project from a Package.
To create a new Studio Project:
Open the SFHub Studio Basic app if not already open. (See Getting Started for instructions).
The Studio Basic 'Settings' page appears.
SFHub Studio - Settings
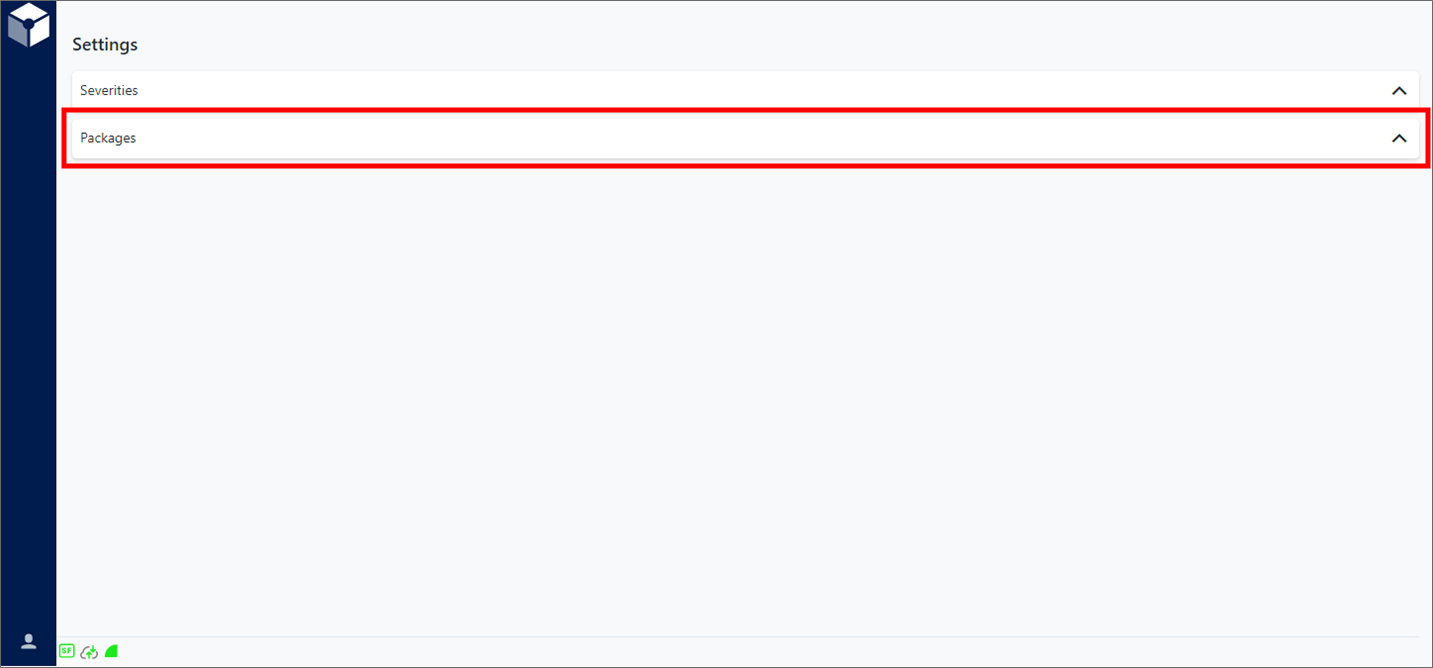
Settings is the "main page" for the Studio Basic app.
Click on Packages to expand the Registered Packages panel.
Registered Packages panel - Create

Click on Create to open the RegisterPackageComponent window.
RegisterPackageComponent window
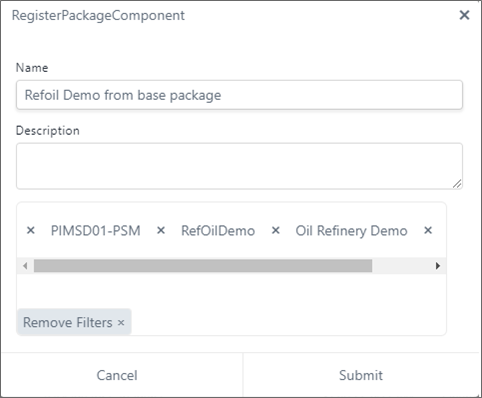
This window allows you to enter a Project name and description, as well as select the Server\database[\model\analysis].
In the Name box, type a name for the Project you want to create.
In the Description box, type a short description of the Project.
In the Server\Database|Model\Analysis filter box, select each component filter (the box automatically lists the next set of filters, after you make a selection).
You can remove a component filter by click its x (Close) icon. However, when you choose to remove a filter that is followed by other filters, all component filters to the right of the one selected are also removed.
You can clear all component filters by clicking on Remove Filters.
Click Submit to initiate the Project creation process.
At the end of the process:
The Package is created and added to the Registered Package list.
All the SigmafineHub Studio Analytics and Report that are included in the Package are made available.
Analytics can now be configured in Workflow, as well as the Report can be configured in the SFHub Visualizer settings.