Installing the Modeler
Ensure that you have uninstalled any previous versions of Modeler you may have had on your computer. Once that is done, you are ready to install the Modeler.
To install Modeler:
Open Windows File Explorer.
Locate the new Modeler installer file.
Right-click on the installer file and select Run as administrator, to start the installer wizard.
The Modeler Installation Welcome window opens.

Click Next to open the License Agreement window.
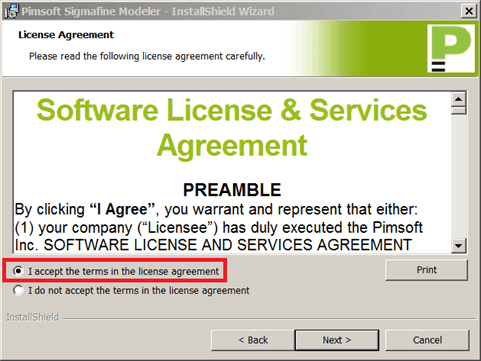
Select the I accept the terms in the license agreement option.
Click Next to open the Customer Information window.

In the User Name box, type your user name.
In the Organization box, type your company's name.
Click Next to open the Ready to Install the Program window.
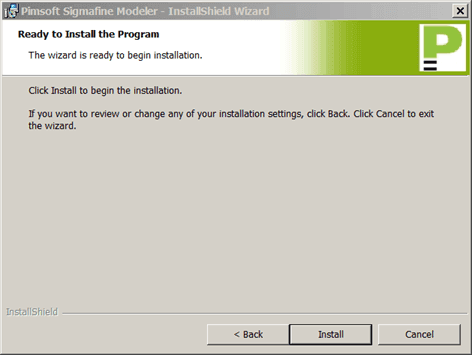
Click the Install button to initiate the installation.
When the installation completes, a completed window opens.
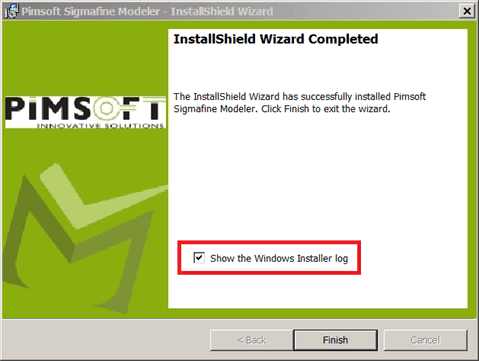
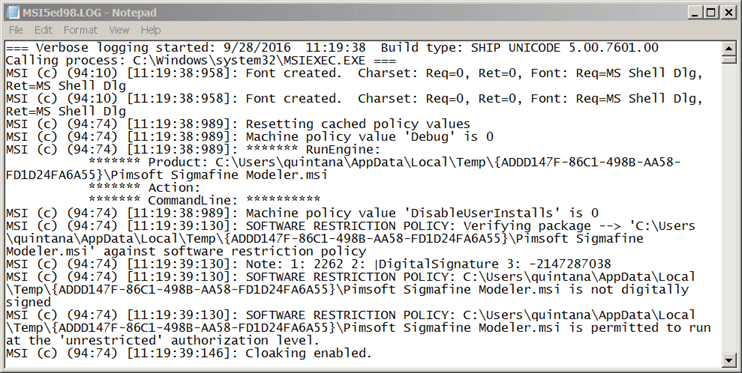
(Optional) Check the Show the Windows Installer log checkbox if you want to view the log when you click 'Finish'.
Click the Finish button.
Verify that the Install Completed Successfully
To confirm the installation was successful:
- Open ProcessBook.
- Go to Tools > Add-In Manager to open the Add-In Manager window, as shown in the following figure.
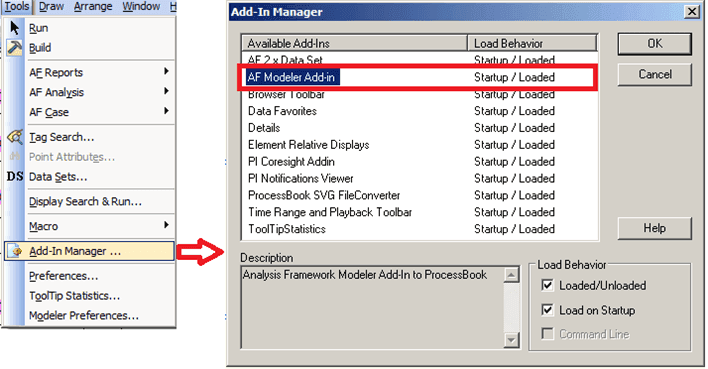
- Verify that the AF Modeler Add-in is now visible in the list.
- Click OK (or Cancel) to close the Add-In Manager window.