Installing the Sigmafine Excel Add-In
To install the Sigmafine Excel Add-In:
Open Windows File Explorer.
Locate the new Sigmafine Excel Add-In installer file.
Right-click on the installer file and select Run as administrator, to start the installer wizard.
The Sigmafine Excel Add-In Installation Welcome window opens.
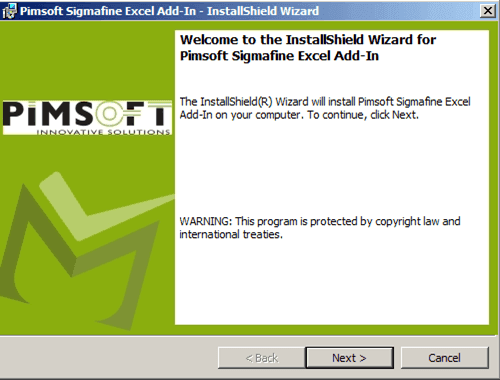
Click Next to open the License Agreement window.

Select the I accept the terms in the license agreement option.:
If you would like a printed copy of the Software License & Services Agreement, click the Print button.
Click Next to open the Customer Information window.

In the User Name box, type your user name.
In the Organization box, type your company's name.
Click Next to open the Destination Folder window.
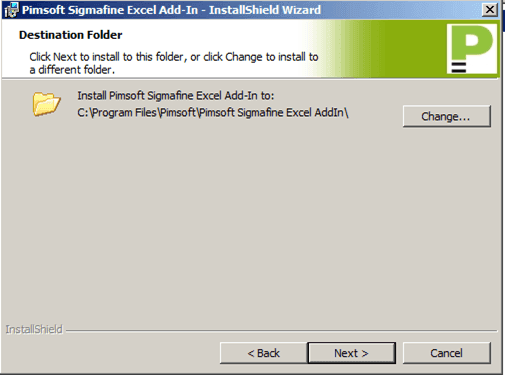 :
:The default destination folder is used, unless you select to Change it.
(Optional) To change the destination folder, click the Change button to select a new location and folder.
Click Next to open the Ready to Install the Program window.
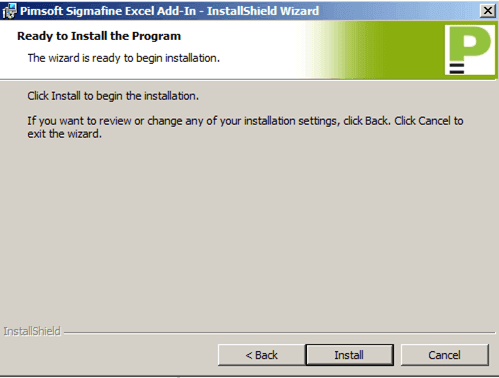
Click the Install button to begin the installation.
When the installation finishes, the Complete window opens.
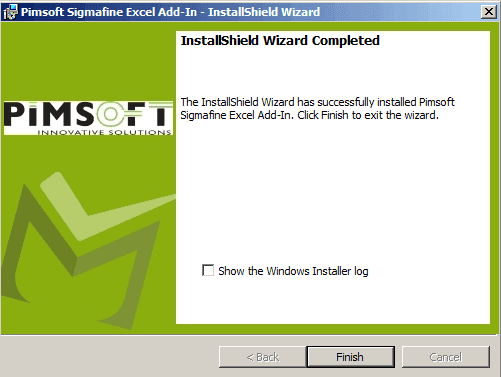
(Optional) Check the Show the Windows Installer log checkbox if you want to view the log when you click 'Finish'.
Click the Finish button.
Verify that the Install Completed Successfully
To confirm the installation was successful:
Open Excel.

Verify that the SF menu is visible in the ribbon (toolbar).
If the SF menu item is not displayed in the ribbon:
In Excel, select File > Options.
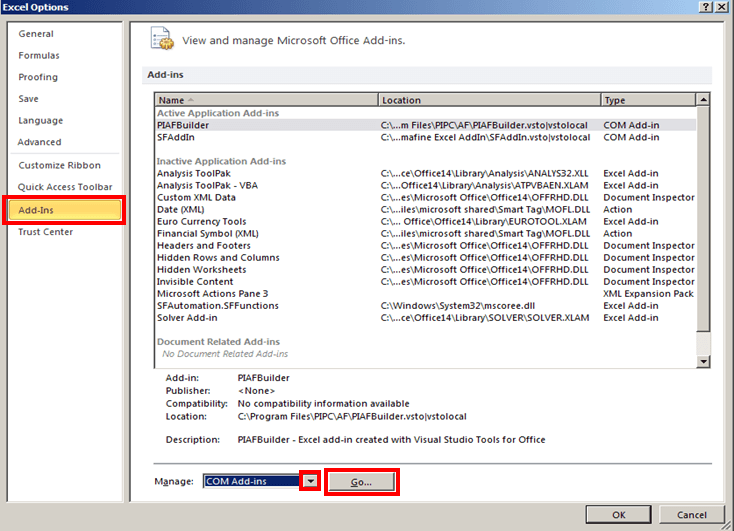
In the left pane, click Add-ins.
In the right pane, click on the Manage down-arrow and select COM Add-ins.
Click the Go ... button.
The COM Add-Ins window opens displaying the add-ins that are not currently added to Excel.

Select the SFAddIn (place a check mark next to it), and click OK.
Once the installation completes, open Excel again.
At this point, you'll want to set the Sigmafine Excel Add-In to start automatically with Excel.
Select File > Options, then click on Add-Ins.
Click on the Manage down-arrow and select Excel Add-ins (if not already selected).
Click the Click the Go ... button.
An Add-Ins window opens.
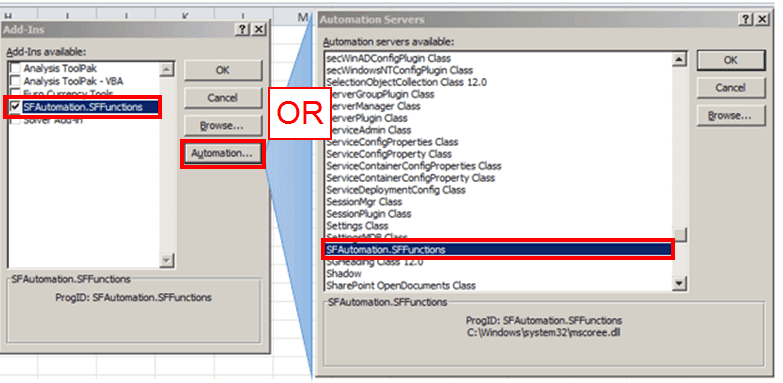
Select the SFAutomation.SFFunctions (place a check mark next to it).
Note:
If the SFAutomation.SFFunctions add-in is not listed under Add-Ins available:
Click on the Automation button to open the Automation Servers window.
In the Automation servers available list, search for and select SFAutomation.SFFunctions (as shown in Figure 678).
If 'SFAutomation.SFFunctions' is not present in the list, contact Pimsoft Technical Support for additional assistance.
Click OK to save your selection and close the Automation Servers window.
In the Add-Ins window, click OK to save your selection and close the window.